Lab Credits
Much of what is written here was gleaned from existing sources and then fit to my needs. Tailscales documentation is top notch and will be an invaluable resource.
- Credit: Tailscale themselves produce excellent documentation including a number of comprehensive "How-to" guides
- Link to Tailscale Docs
- Some changes have been made where my setup differs. For example, I use a VM on Proxmox
Lab Overview - Goals + Objective + Technologies
-
Learning Goals
- Create a subnet router using Tailscale
- Route traffic between different subnets in your homelab
- Provide secure access to your devices using Tailscale
- Learn how to configure Tailscale on a Linux VM
- Understand how to route traffic between subnets using Tailscale
-
Objectives
- Build a Linux VM on Proxmox
- Install Tailscale on the Linux VM
- Configure the Linux VM as a subnet router
- Route traffic between different subnets in your homelab
- Securely access your devices using Tailscale
-
Technologies
- Tailscale
- Linux
- Proxmox
- Networking
- VPN
- Subnetting
- Routing
Project 1 - Create a Subnet Router
In this project, we will create a subnet router using Tailscale on a Linux VM running on Proxmox. This router will allow you to route traffic between different subnets in your homelab and provide secure access to your devices using Tailscale.
Prerequisites
- A Proxmox server with a Linux VM or a device you'd like to use as a subnet router
- A Tailscale account
- Basic knowledge of networking concepts
Overview of What We'll Cover
This project will walk you through the process of setting up a subnet router using Tailscale on a Linux VM. We will start by building a Linux VM on Proxmox, installing Tailscale on the Linux VM, and configuring the Linux VM as a subnet router. We will then route traffic between different subnets in your homelab and securely access your devices using Tailscale.
Need guidance on setting up a Linux VM on Proxmox? Check out these links
Setting Up a Subnet Router
Step 1: Build a Linux VM on Proxmox
If you haven't done so already, build a Linux VM on Proxmox. You can follow the steps outlined in the Linux VM on Proxmox guide to get started.
Step 2: Install Tailscale on the Linux VM
Once you have your Linux VM set up, install Tailscale on the Linux VM.
- Head to the Tailscale Downloads page and download the Tailscale package for your Linux distribution. At the present time, the command to install Tailscale on a Linux VM is as follows:
curl -fsSL https://tailscale.com/install.sh | sh
The best way to run these commands is to SSH into your Linux VM and run them from the terminal. This allows you to copy and paste the commands directly into the terminal.
- The terminal will print a bunch of information and should end with a message that Tailscale is installed:
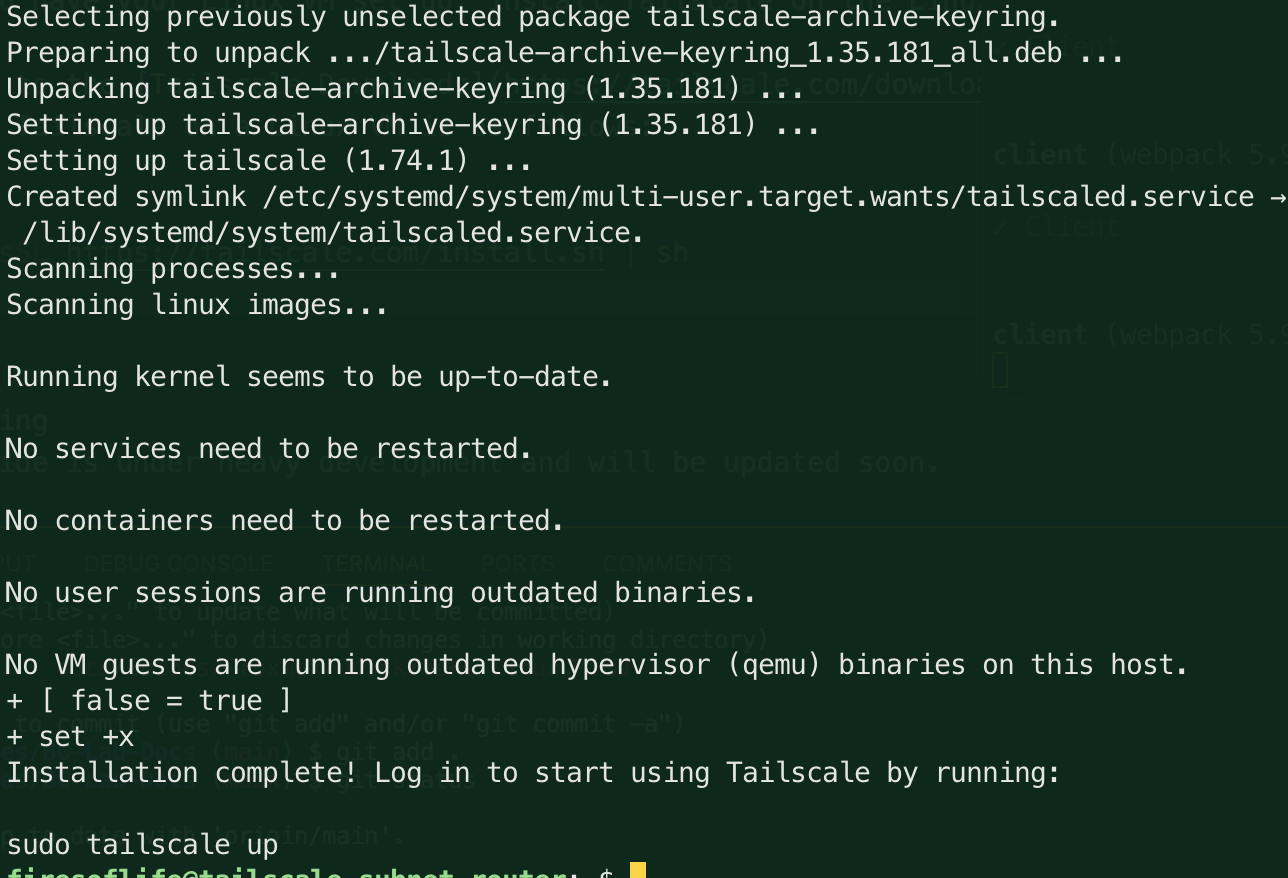
- Next, you will need to authenticate your Linux VM with Tailscale. Run the following command:
sudo tailscale up
This will generate a URL that you can use to authenticate your Linux VM with Tailscale. Open the URL in a browser and follow the instructions to authenticate your Linux VM.
If successful, you should see a message in the broser that your Linux VM is now connected to Tailscale and then a redirect to your Tailscale admin console where you can see your Linux VM listed.
Step 3: Check Your Firewall Settings
- First check to see if your firewall is enabled. Run the following command to check the status of your firewall:
sudo ufw status
-
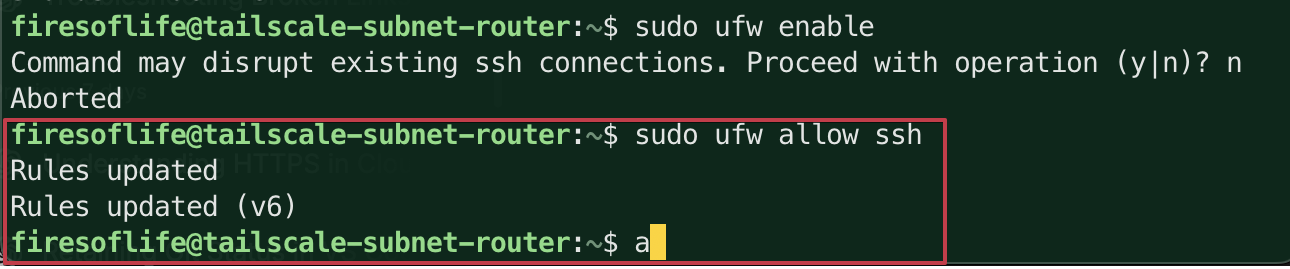
If your firewall is not enabled, you can enable it, but you'll want to ensure you can still access your Linux VM. You can do this by allowing SSH traffic through the firewall. Run the following command to allow SSH traffic:
sudo ufw allow sshYou should see a message that the rule has been added:
-
Now you can enable the firewall by running the following command:
sudo ufw enableYou can safely enter
yto enable the firewall and you should see a message that the firewall is now active and will start on boot and you should still be able to access your Linux VM via SSH:
-
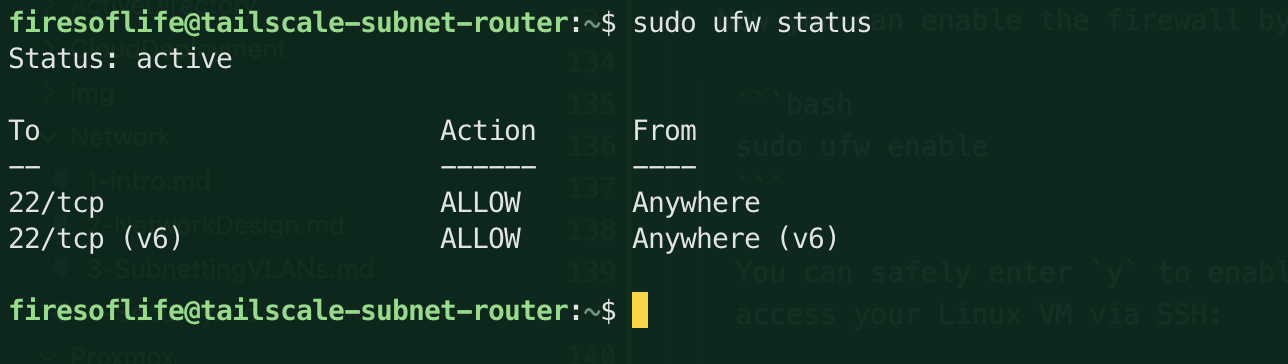
Verify that the firewall is enabled by running the following command:
sudo ufw statusYou should see a message that the firewall is active and that SSH traffic is allowed:
Step 4: Enable IP Forwarding
echo 'net.ipv4.ip_forward = 1' | sudo tee -a /etc/sysctl.d/99-tailscale.conf
echo 'net.ipv6.conf.all.forwarding = 1' | sudo tee -a /etc/sysctl.d/99-tailscale.conf
sudo sysctl -p /etc/sysctl.d/99-tailscale.conf
This guide is under heavy development and will be updated soon.