Getting Started with Tailscale
So, you've decided to take the plunge and give Tailscale a try. Great choice! In this guide, we'll walk you through the process of getting Tailscale up and running on your devices. By the end of this guide, you'll be able to securely connect your devices using Tailscale and take advantage of its many features.
Prerequisites
Before we get started, there are a few things you'll need:
- A Tailscale account. You can sign up for a free account on the Tailscale website.
- A device to install Tailscale on. Tailscale supports a wide range of platforms, including Windows, macOS, Linux, iOS, and Android.
Really, you don't need much to get started. We will add some complexity as we go along, but for now, let's keep it simple.
Steps
Step 1: Sign Up for Tailscale
Uh ... I'm sure you can figure this one out. Head on over to the Tailscale website and sign up for an account. It's free, so no excuses!
Step 2: Install Tailscale on Your Device
iOS
This is blazing easy. All you need to do is head on over to the App Store and download the Tailscale app. Once it's installed, open the app and sign in with your Tailscale account. That's it!
Ok, actually, not quite - I did have to sign in with my GitHub account and then go through a few steps to get to the point where I could sign in with my Tailscale account. It was a breeze, though.
MacOS
Funny enough, it's an app that is available in the App Store in this case too. Download it, install it, and sign in with your Tailscale account.
-
Once the app is installed, you'll see it running in the menu bar. Click on the Tailscale icon and select
Settings....warningI had to quit the app and restart it to get the
Sign in with Tailscale Accountoption to appear. It may be a bug or it may be a feature. I'm not sure. -
You can try to log in or add an account here, but I found that I had to quit the app and restart it to get the
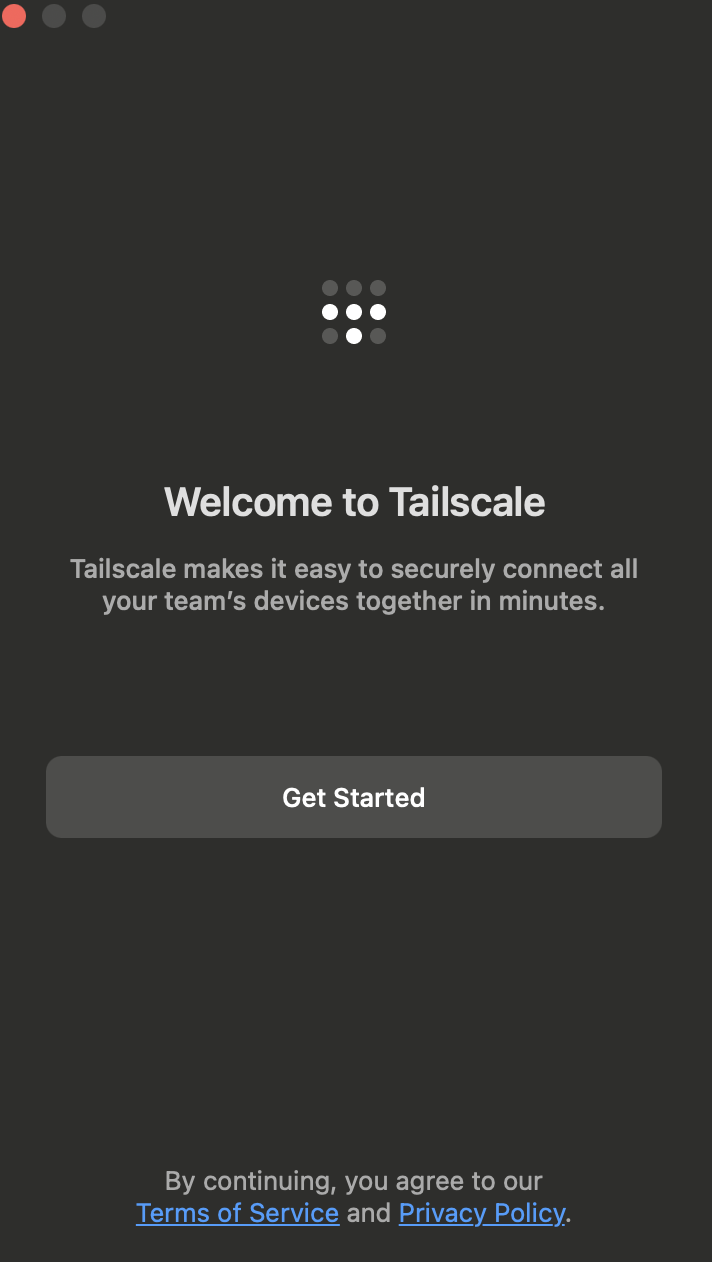
Sign in with Tailscale Accountoption to appear. It may be a bug or it may be a feature. I'm not sure. Check to see if the app is opened in the dock and then click on it to bring up a login / setup flow - this was not available to me using the menu bar icon. It should look like this:
-
Click the
Get Startedbutton and you'll be prompted toAllow VPN configuration. Go ahead and mash thatAllowbutton along with any prompts from MacOS that may appear. -
Two things will happen seemingly concurrently - you'll get a browser redirect to Tailscale's auth page to sign in (I used github and had to go through a few steps to get there). Secondarily, in the Tailscale app you'll see a new prompt saying
Sign in to your Network. -
Proceed through the browser auth flow until you see a prompt to
connect device. With the GitHub flow, a "Tailnet" is created. Since my GitHub username is awesome my Tailnet is firesoflife.github - I'll be using this in the future to connect to my devices. -
The app interface now shifts from the previous
Sign in to your Networkto a new setup flow to connect various devices and a few links -- one of which will take you to the 'admin console' which is a web interface to manage your devices and networks. This site also happens to open in the background.
Linux
This guide is under heavy development and will be updated soon.
Great. That's it. If you have a keen eye you'll notice that Tailscale has guides for most of these basic projects, so you won't need me ... right? Not so fast. I'm going to walk you through the process of setting up Tailscale in a way that is tailored to my setup and my needs. You can follow along and adjust as needed for your own setup. Next up we'll be looking at setting up remote access to your network using Tailscale. Stay tuned!