Active Directory - Dedicated User Account
In this guide, we will create a dedicated user account for managing Active Directory. This account will be used to perform administrative tasks within the Active Directory environment. By creating a dedicated user account, you can ensure that the account has the necessary permissions to perform administrative tasks without granting unnecessary privileges to other users.
Create a Dedicated User Account
Step 1: Open Active Directory Users and Computers
-
Click the
Startbutton and selectWindows Administrative Tools. -
Select
Active Directory Users and Computersfrom the list of administrative tools. -
The Active Directory Users and Computers console will open - this is where you can manage user accounts, groups, and other Active Directory objects. It looks like this:
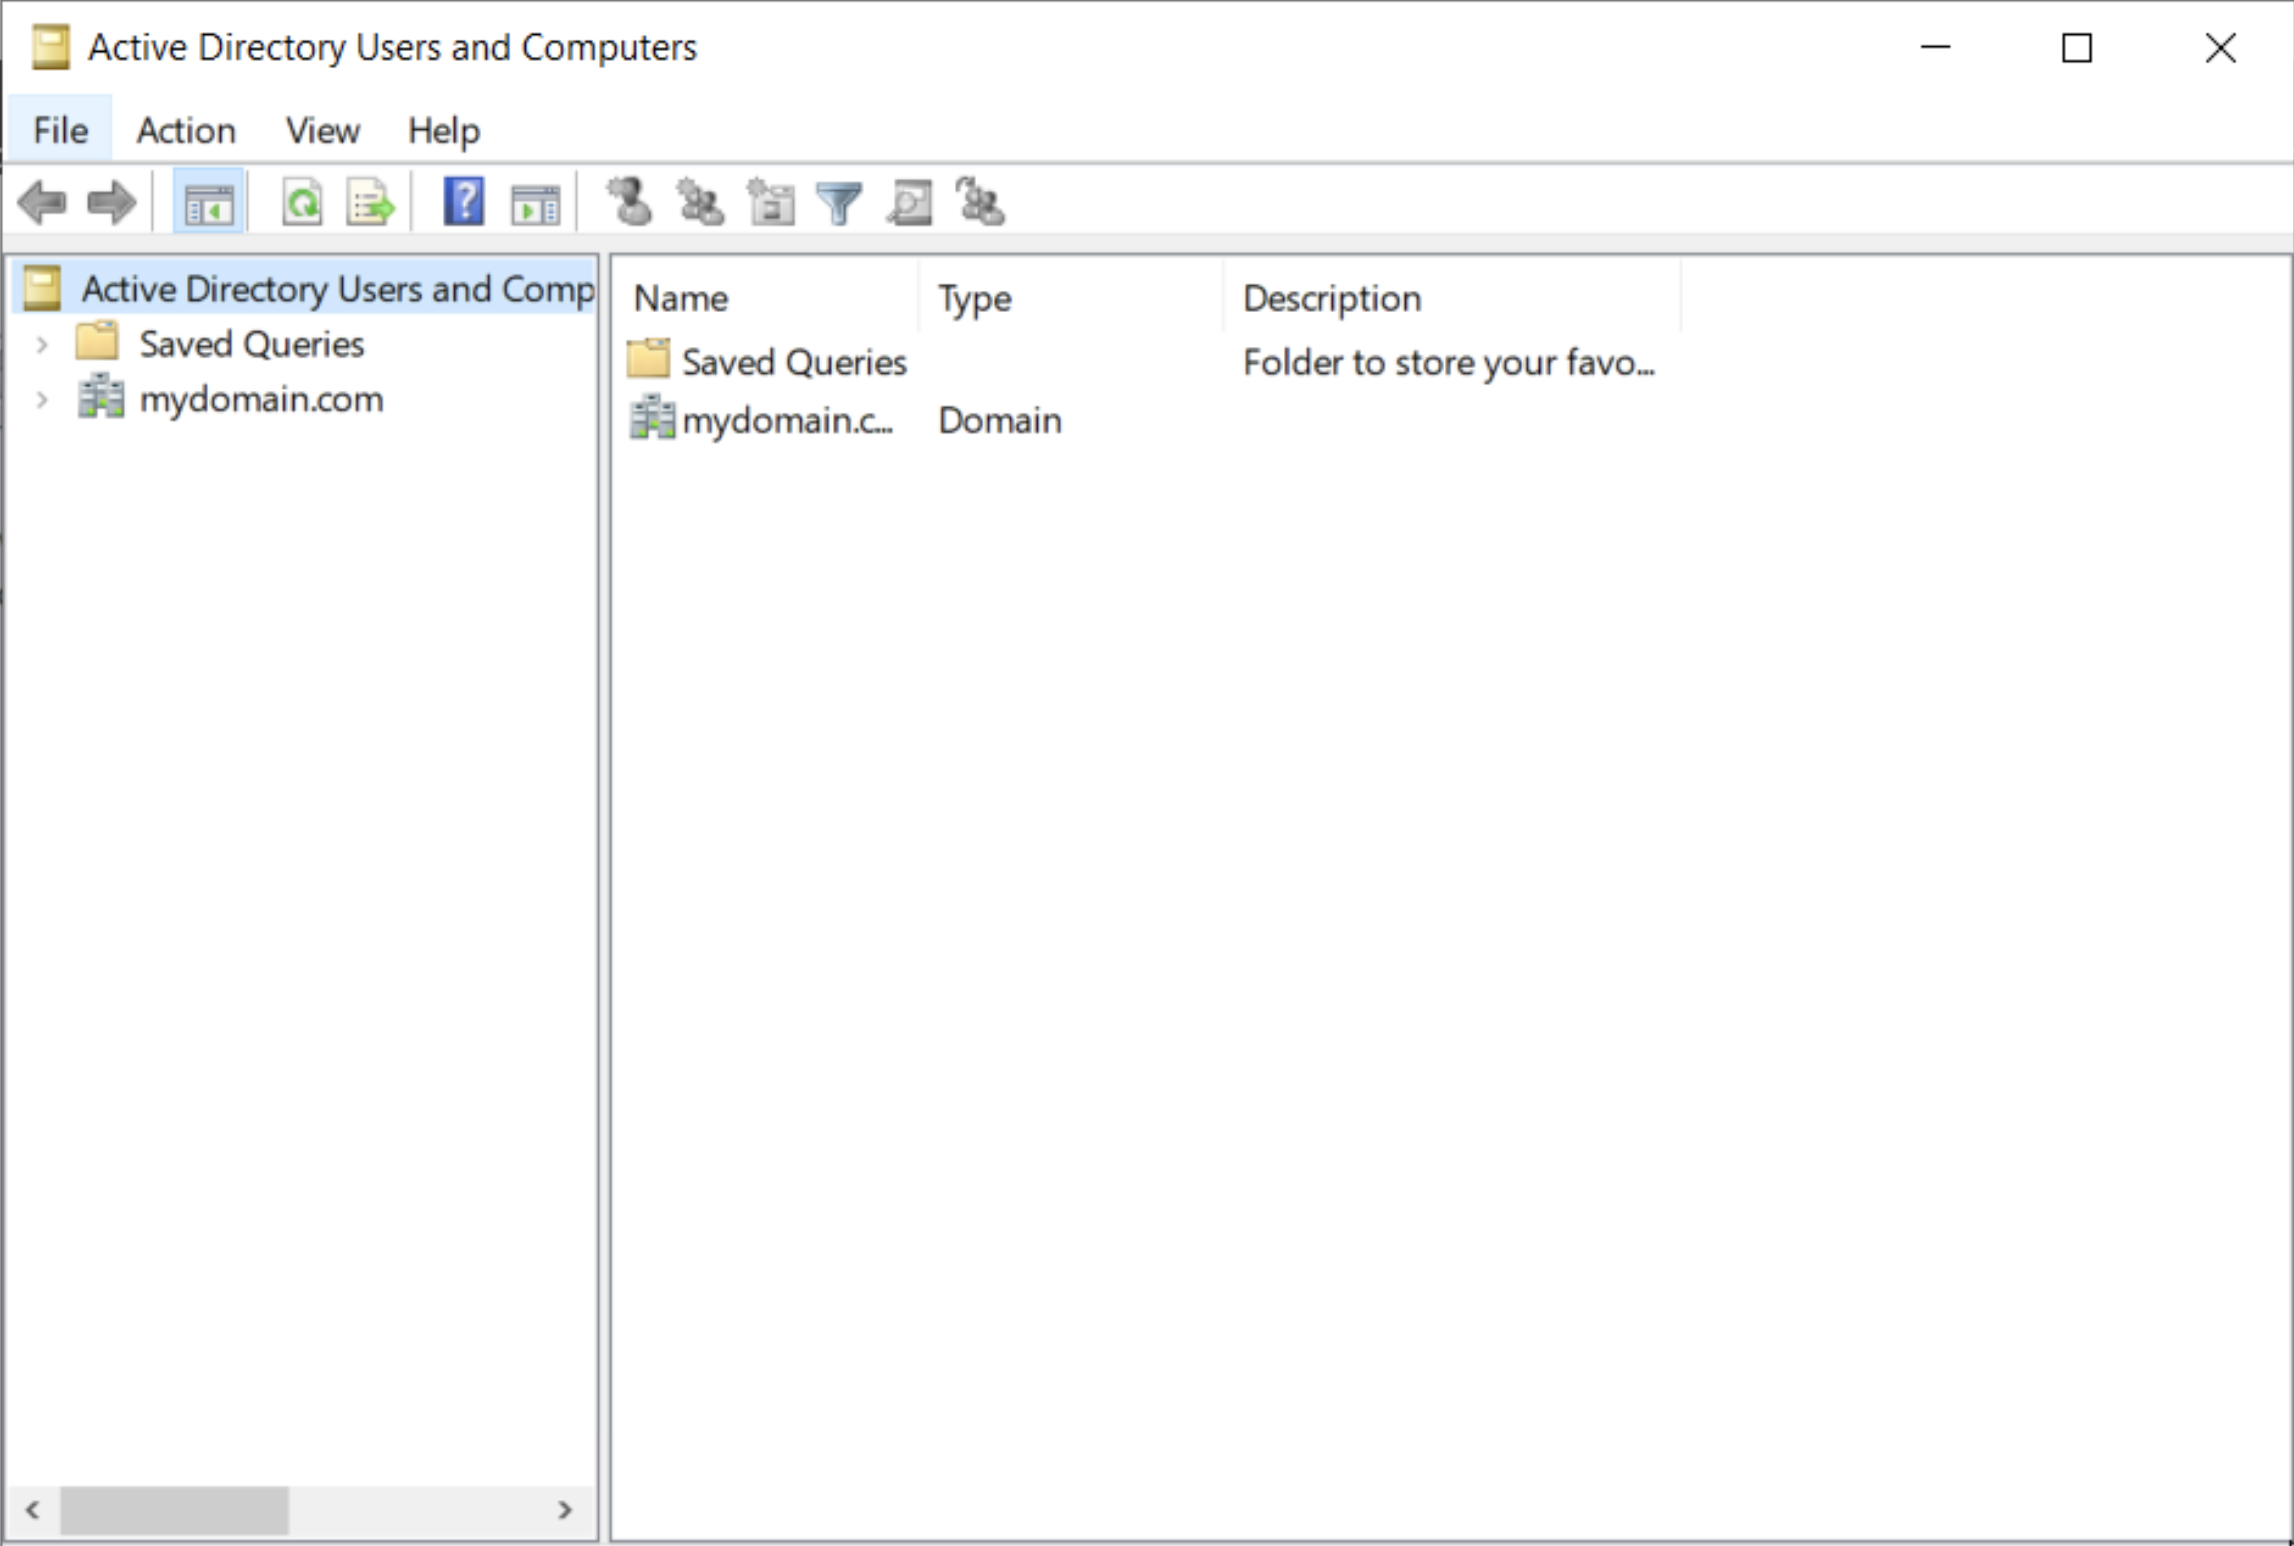
You'll notice that the Domain Controller we created is listed here - mydomain.com.
Step 2: Creating Our First Organizational Unit (OU)
-
Right-click on the
mydomain.comdomain and selectNew>Organizational Unit. -
Enter a name for the new OU - we'll call it
_ADMINSfor our administrative users. -
Click to expand the
mydomain.comdomain and you'll see the new_ADMINSOU listed.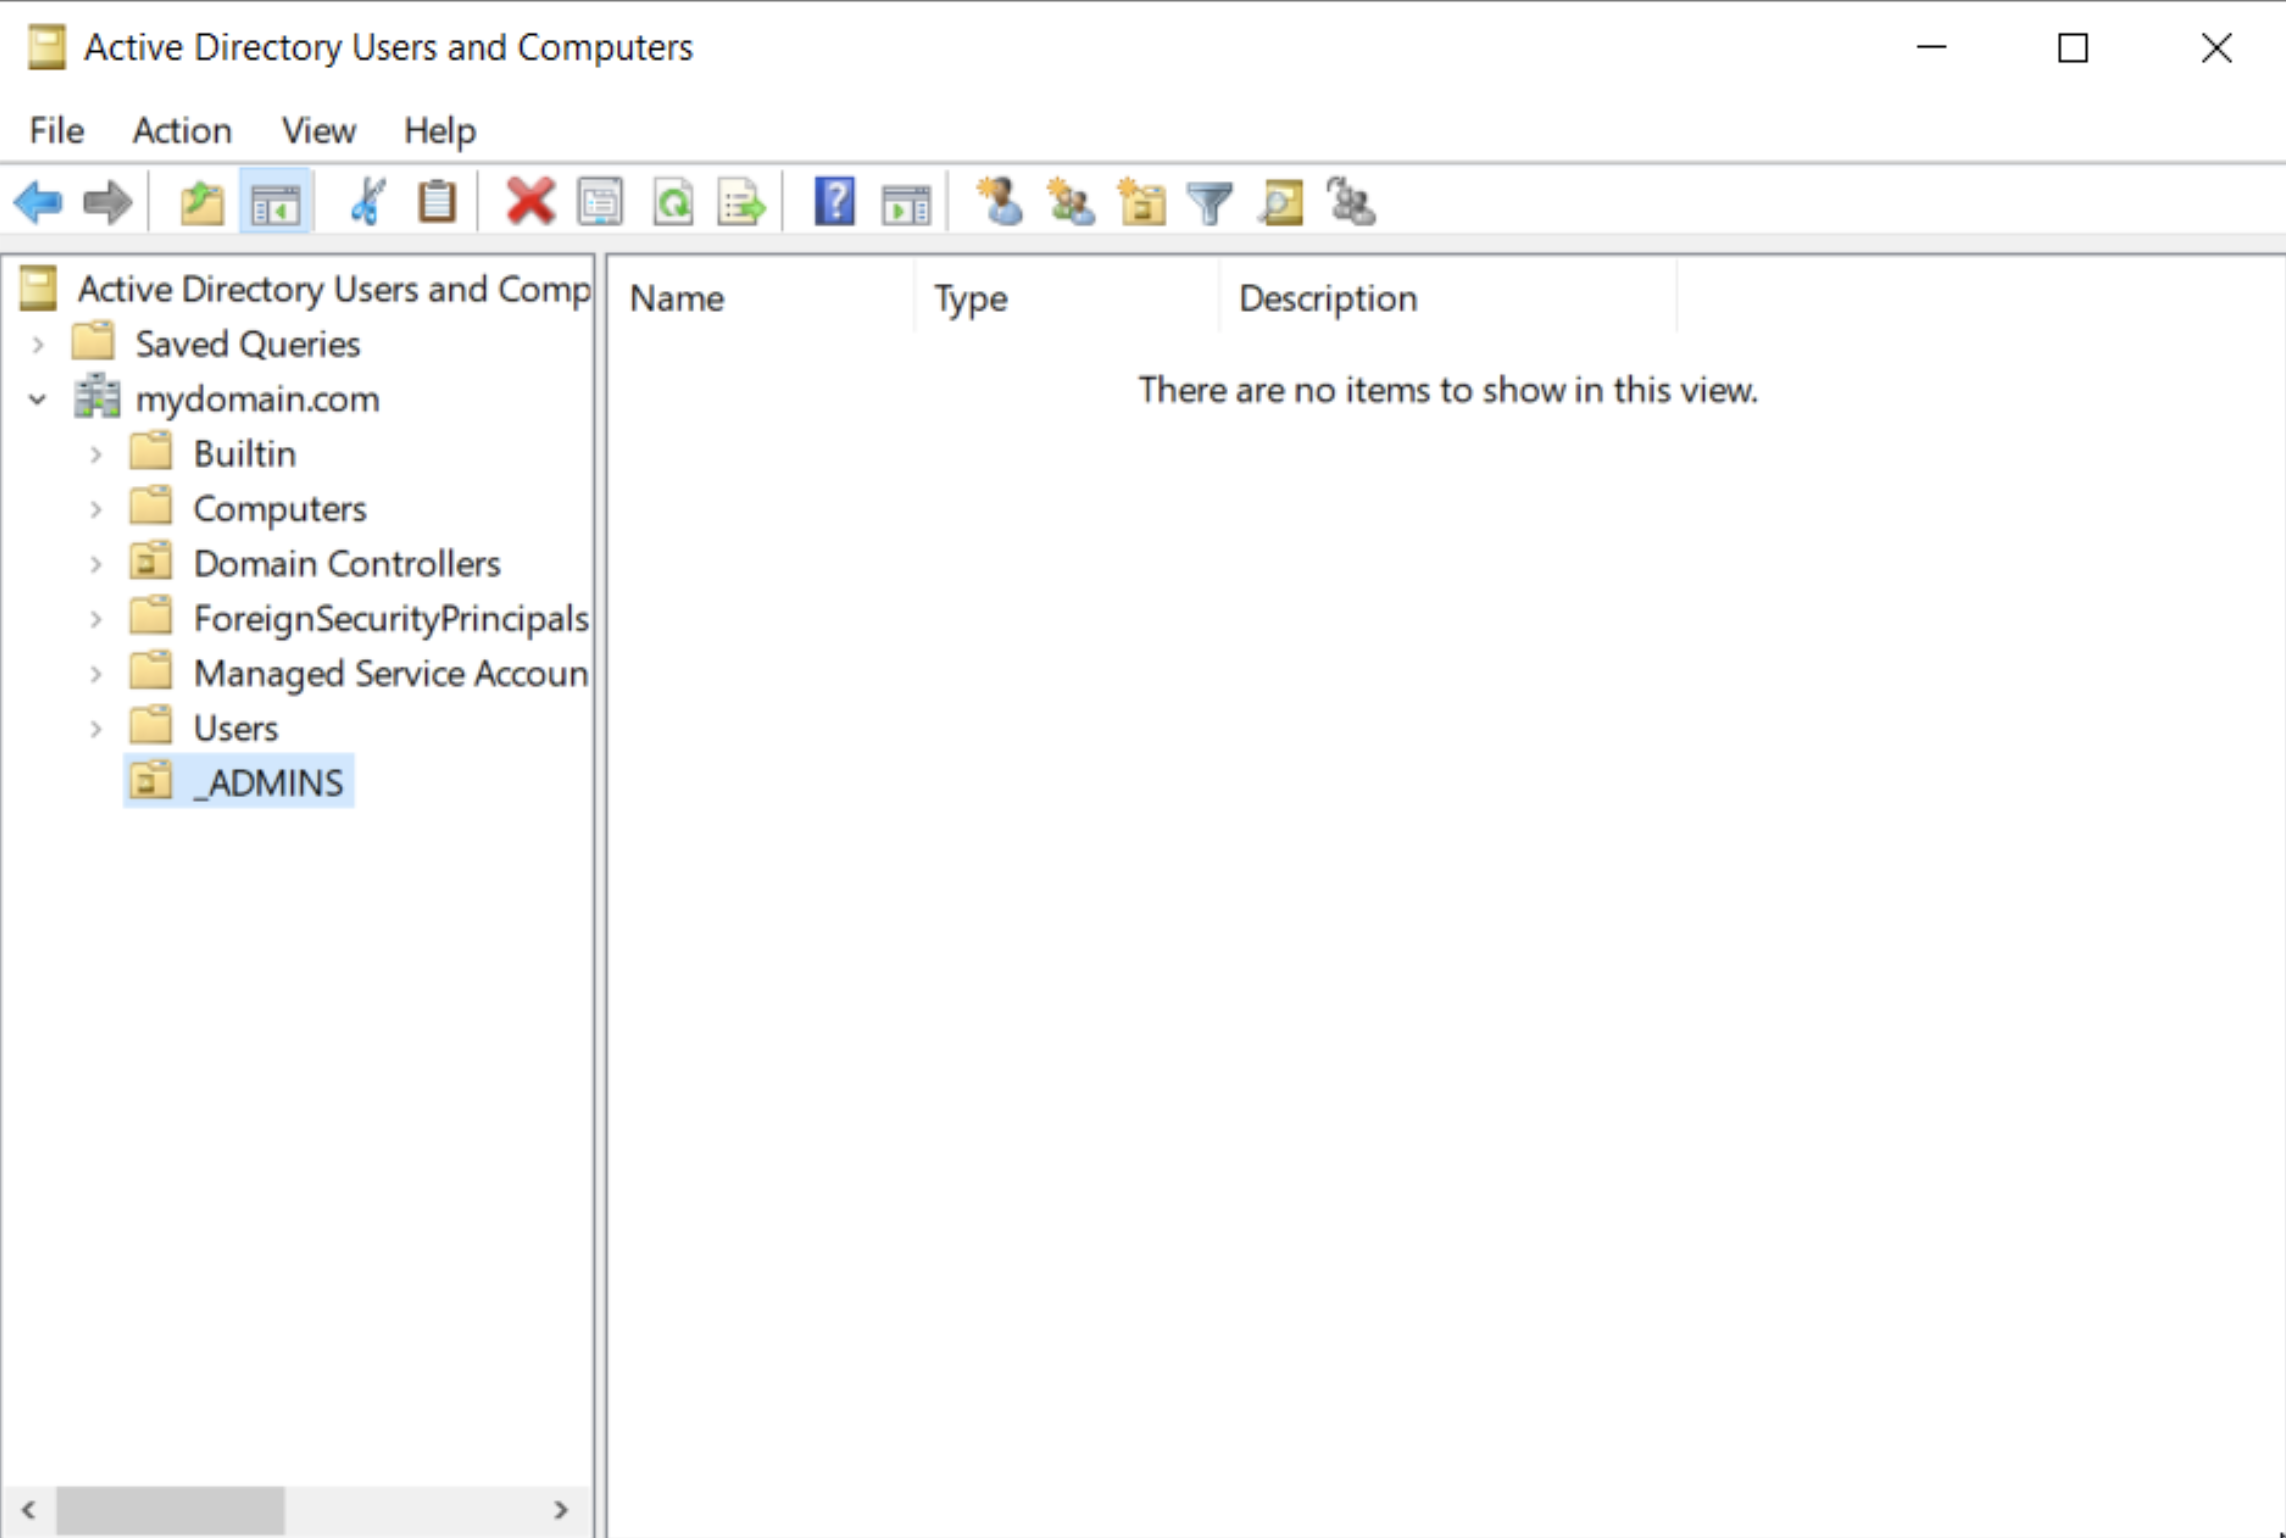
Step 3: Create the Dedicated User Account
-
Right-click on the
_ADMINSOU and selectNew>User. -
Fill in the fields with a fake name or your name or whatever you'd like. For the 'user logon name', there are a few conventions you can follow. Here I'll use
a-bgoertzwhere the a signifies that this is an administrative account and the bgoertz is my name. You can use whatever you like, but it's a good idea to have some sort of convention in place for naming your accounts. You can also set a password for the account here.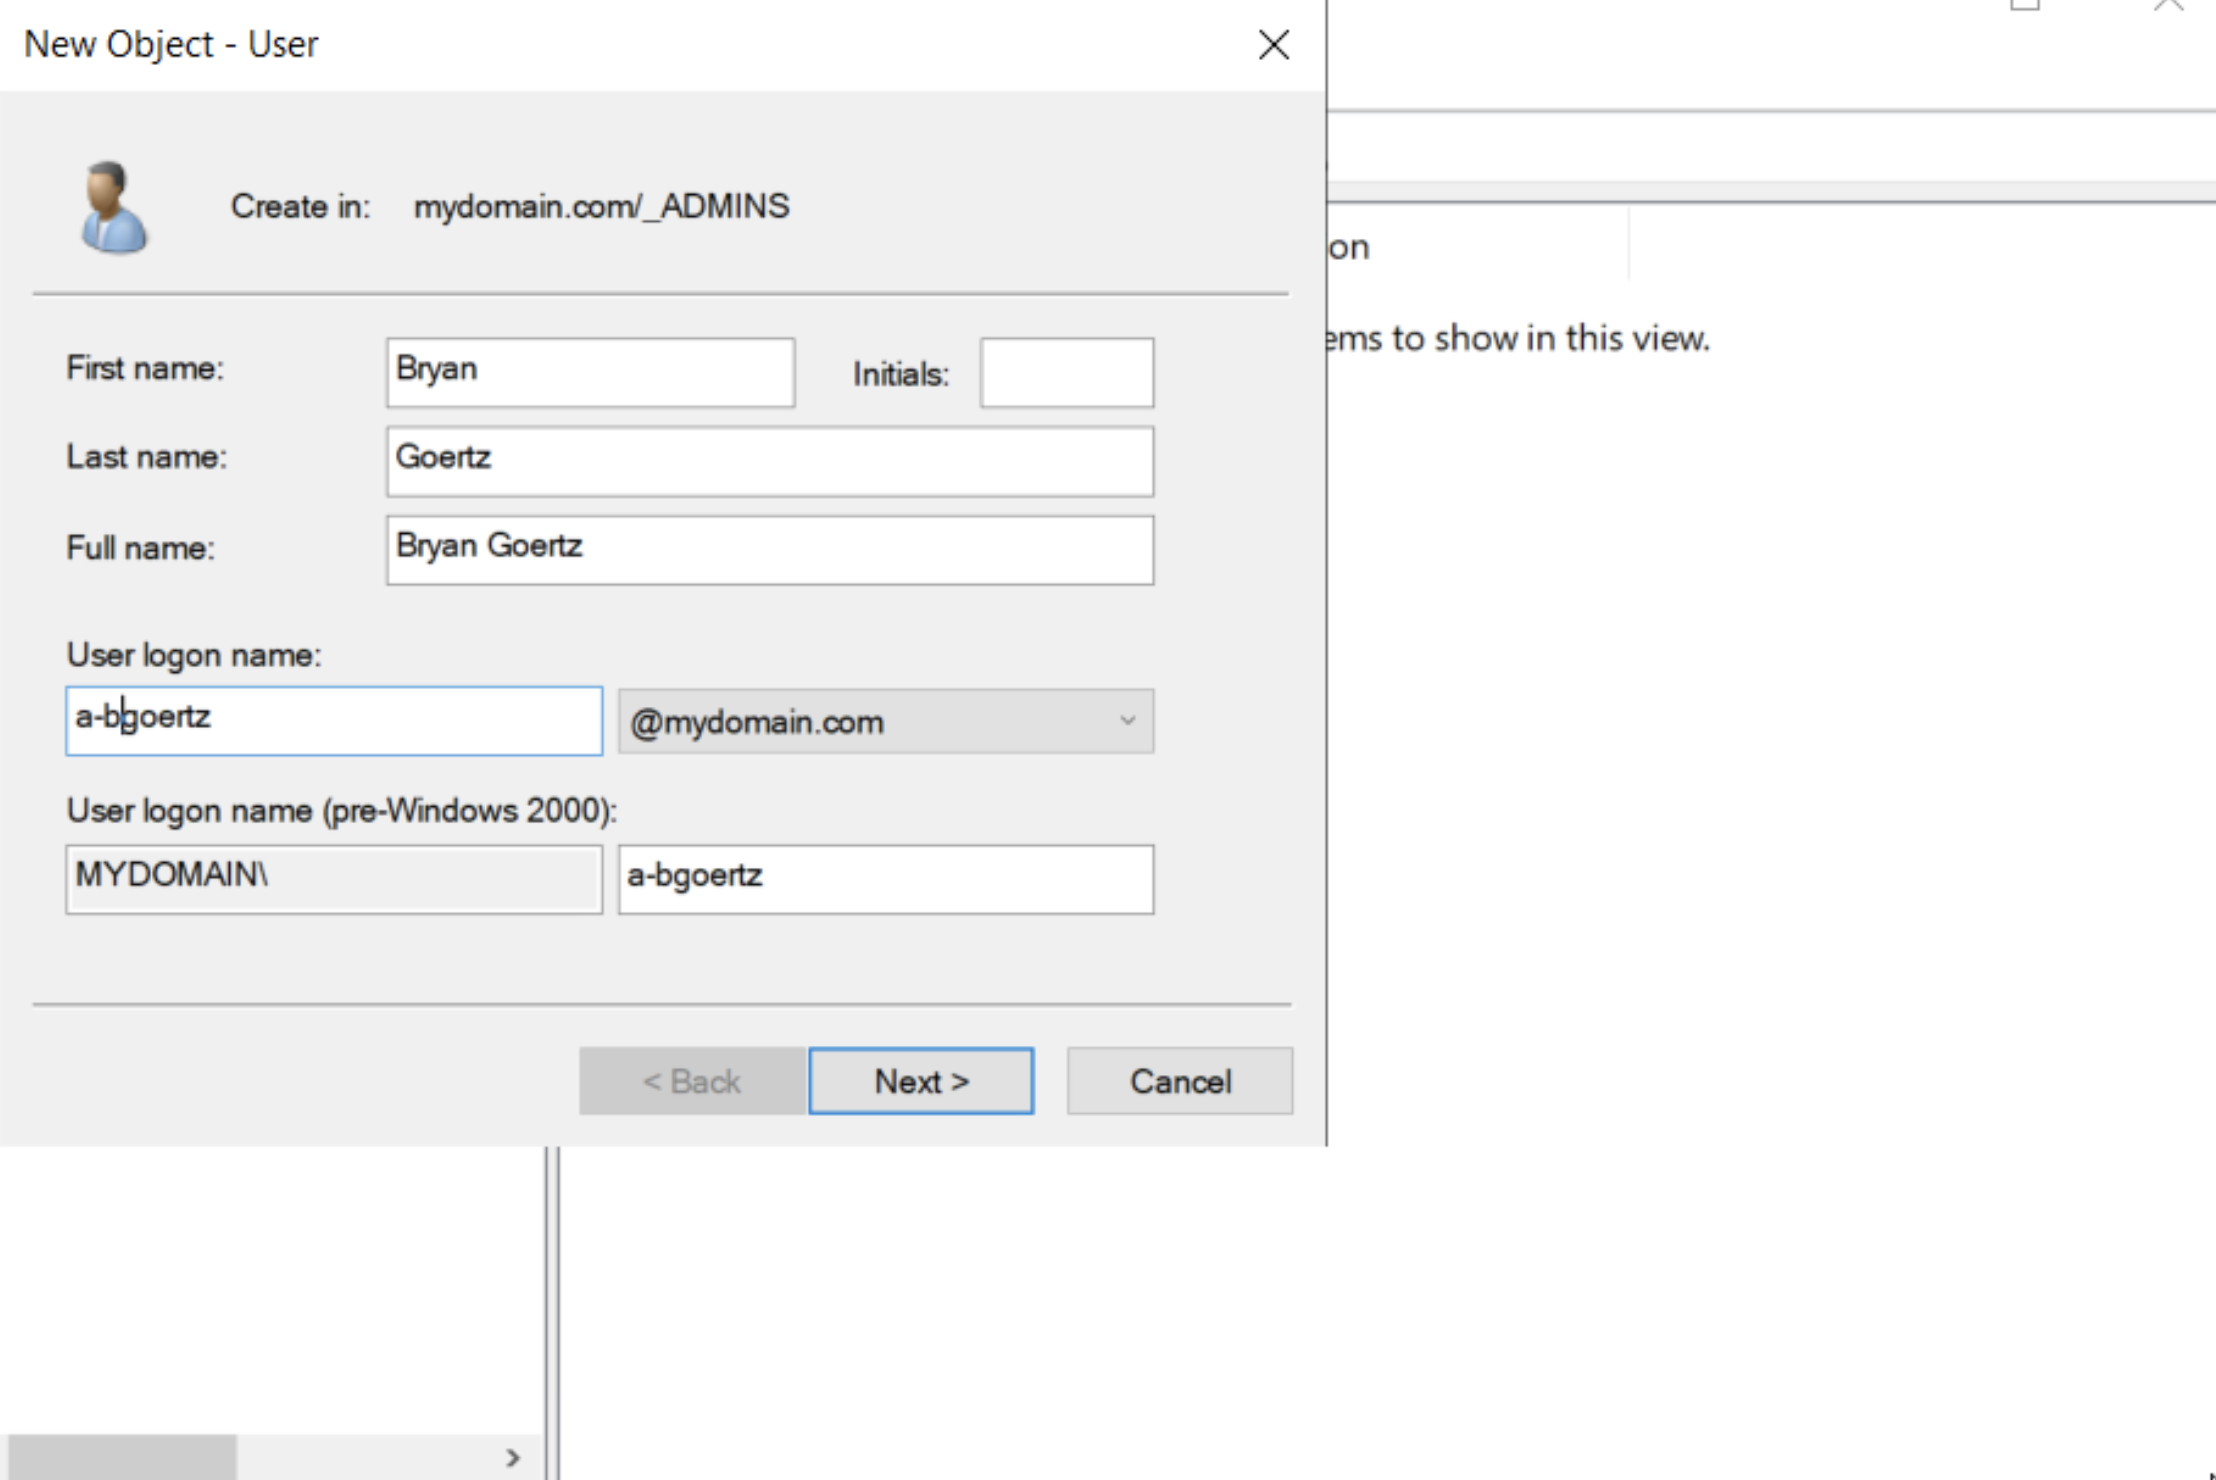
-
Click
Nextand then add in a password. For this guide I'll simply usePassword1. I will also uncheck the box that saysUser must change password at next logonas I am creating a simple demonstration account - however, when creating accounts for users in an organization, it would be a security best practice to have users change their password on first logon. -
Also, check the box that says
Password never expiresas we are in a lab environment and don't want to have to reset the password every 90 days. Of course, I recommend that you do not check this box in a production environment. -
Click
Nextand thenFinish. You'll see a new user account listed in the_ADMINSOU.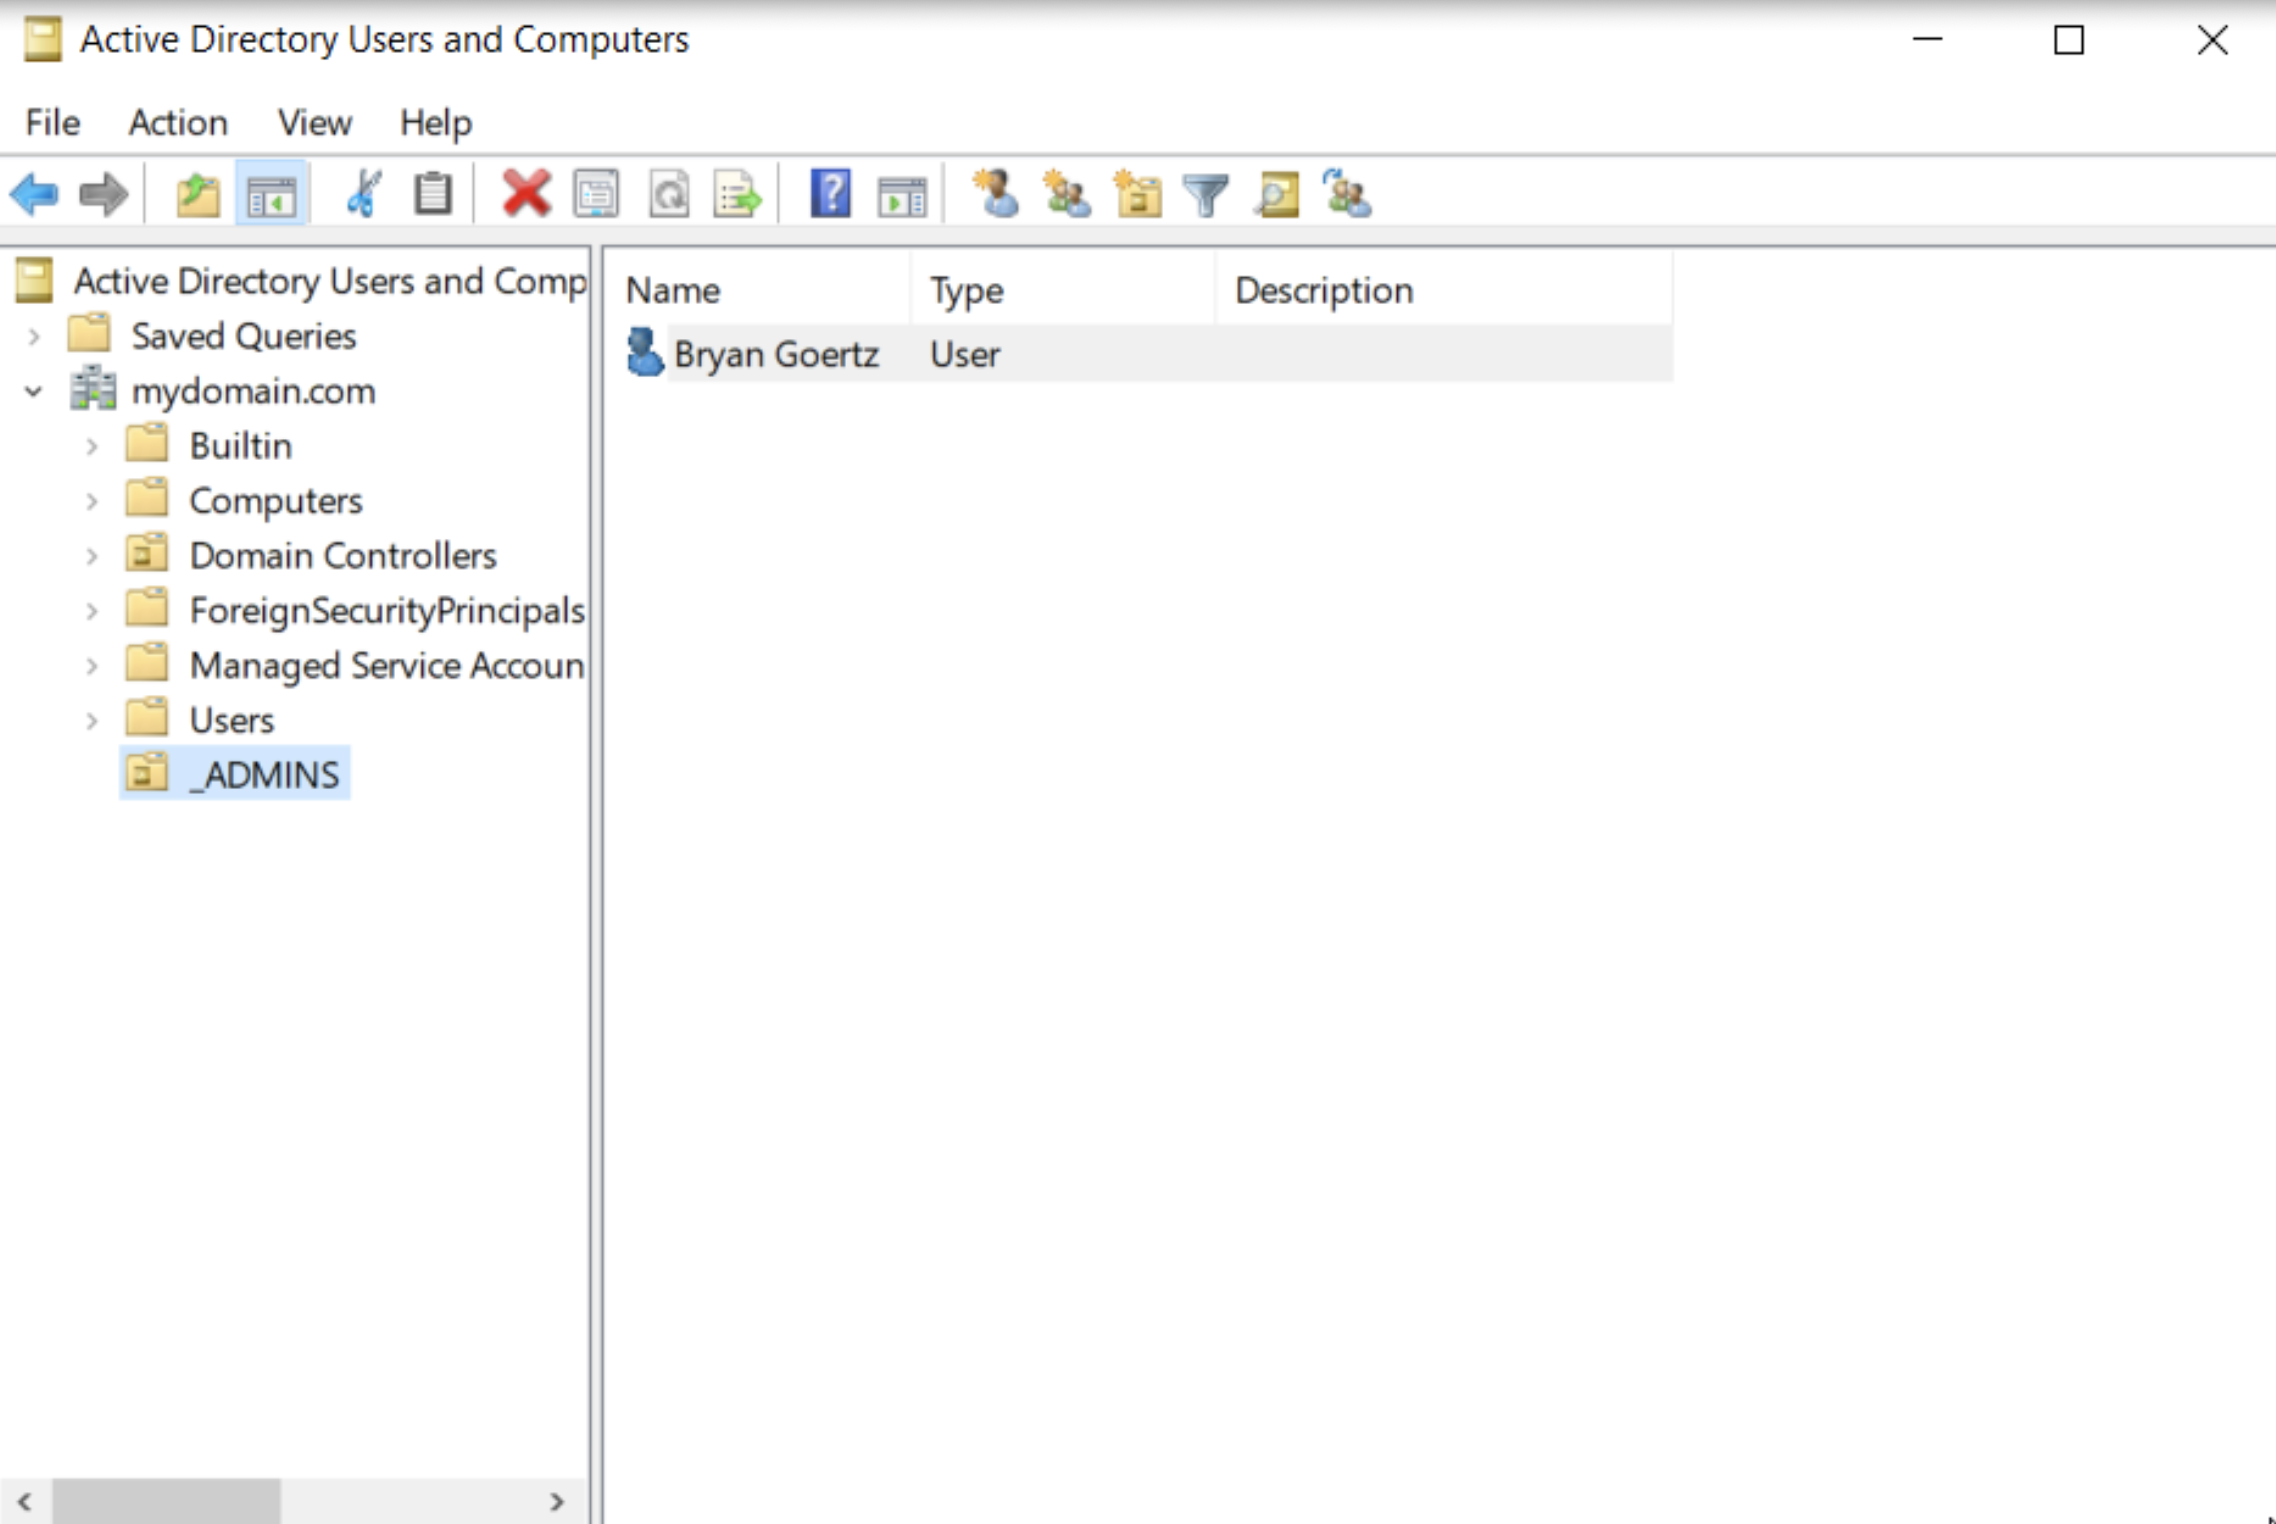
Step 4: Add the User to the Administrators Group
-
Right-click on the user account you just created and select
Properties. -
Click on the
Member Oftab and then clickAdd. -
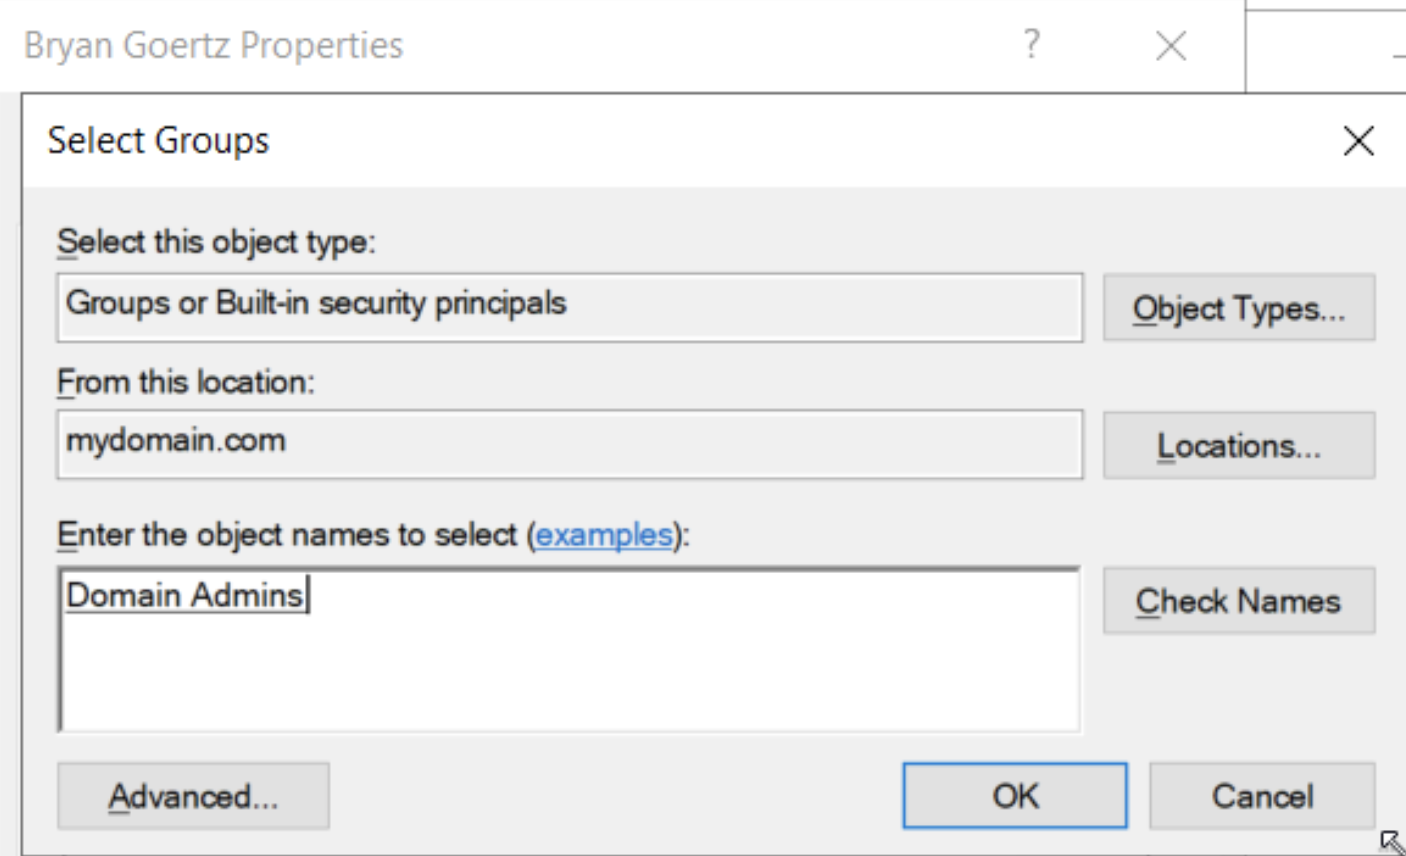
In the
Enter the object names to selectfield, typedomain adminsand clickCheck Names. The name should resolve todomain adminsand then clickOK.
Ensure there is no whitespace before or after the name domain admins when you type it in. If there is, the name will not resolve correctly.

Once resolved (clicked on Check Names), it will look like this
- Click
OKand thenApplyandOKagain to close the properties window.
Step 5: Test the Account
-
Log out of your current account
-
When you press
Ctrl + Alt + Delyou'll see the optionOther user. Click on this. -
You'll now see the login fields ask for
UsernameandPassword. Enter the username you created in the formatmydomain\a-bgoertzand the password you set for the account. -
Click
Sign inand you should be logged in with the new account.
Conclusion
Great. We have ourselves a shiny new admin account separated into a dedicated OU. This account is a member of the domain admins group and has the necessary permissions to perform administrative tasks within the Active Directory environment. You can now use this account to manage Active Directory without granting unnecessary privileges to other users.
Next up we will work on RAS and NAT - Remote Access Services and Network Address Translation. See you there!