Netbox for Production
Intro
Netbox is an open-source web application designed to help manage and document computer networks. Initially developed by the network engineering team at DigitalOcean, Netbox was released as an open-source project in 2015. It incorporates IP address management (IPAM) features and supports virtualization, device, and circuit management. Netbox is intended to function as a domain-specific source of truth for network operations.
My use for Netbox is to document my homelab network. I have a lot of devices and services running in my homelab, and I need a way to keep track of all the IP addresses, VLANs, and other network-related information. Netbox is a great tool for this purpose.
Pre-requisites
- You'll need an Ubuntu 22.04 server. I'm using a VM running on Proxmox.
- You'll need to check to ensure your Ubuntu install has Python3 v3.10 or higher. In my case I used a full install of Ubuntu 22.04 Server which come with v3.10 pre-installed. If you have a lesser version, go find a guide on how to upgrade Python3.
Installation
I'm going to keep this brief as there is comprehesnive and easy to follow instructions on the Netbox documentation site. I'll delve into the specifics of my install and any issues I ran into.
Install PostgreSQL and Create a Database
Install PostgreSQL:
sudo apt update
sudo apt install -y postgresql
Set up a database and user for Netbox:
sudo -u postgres psql
Enter the following commands to create a database and user:
Replace username and password with your own values. You can use the user "netbox" or any other name you prefer.
CREATE DATABASE netbox;CREATE USER <username> WITH PASSWORD '<password>';ALTER DATABASE netbox OWNER TO <username>;\connect netboxGRANT CREATE ON DATABASE public TO <username>;
If you now run psql --username=<you username> --host=<your ip> netbox you are likely to see an error message. There are a few reasons for this. First, PostgreSQL is likely only listening on localhost. Second, you may not have host-based authentication enabled.
Listen on Port 5432 for Proxmox VM
If you are running Netbox on a Proxmox VM, you'll need to ensure that PostgreSQL is listening on port 5432. By default, PostgreSQL listens on localhost only. To change this, edit the postgresql.conf file:
sudo nano /etc/postgresql/14/main/postgresql.conf
The Postgres config file is large, but luckily the setting is near the top under the section
CONNECTIONS AND AUTHENTICATION. Find the line that says listen_addresses = 'localhost' and change it to listen_addresses = '*' or, if you prefer listen_addresses = <your ip address>. Save the file and exit.
Allow Host-Based Authentication
Next, you'll need to allow host-based authentication. Edit the pg_hba.conf file:
sudo nano /etc/postgresql/14/main/pg_hba.conf
Add the following line to the bottom of the file:
# Allow connections from remote IPs
host    netbox    <your username>    10.2.1.0/24    md5
Restart PostgreSQL:
sudo systemctl restart postgresql
Check to ensure PostgreSQL is listening on port 5432:
ss -tulpn | grep 5432
You should see something like this:
tcp LISTEN 0 244 <your ip address>:5432 0.0.0.0:*
You can now run the psql command on the VM again and connect to the database.:
psql --username=<you username> --host=<your ip> netbox
You'll be prompted for your password. If you can connect, you're good to go.
Install Redis
Netbox requires Redis for caching. Install Redis:
sudo apt install -y redis-server
Redis should be started automatically. You can check the status with:
redis-cli ping
You should see PONG as a response.
Install Netbox
If you skipped over the prerequisite list and have not yet checked and upgraded your python3 version, now is the time to do so. Netbox requires Python3 v3.10 or higher.
Install Python Packages
The next step will install some python packages, set up a virtual environment, and install some dependencies.
sudo apt install -y python3 python3-pip python3-venv python3-dev build-essential libxml2-dev libxslt1-dev libffi-dev libpq-dev libssl-dev zlib1g-dev
Install Netbox via Git
Create a directory for Netbox and navigate to it:
sudo mkdir -p /opt/netbox/
cd /opt/netbox/
Check that git is installed. If you installed Ubuntu 22.04 Server, git should be installed by default.
git --version
Clone the Netbox repository:
sudo git clone https://github.com/netbox-community/netbox.git .
I'm going to copy directly from the Netbox documentation here because this is pretty awesome for updating Netbox:
Finally, check out the tag for the desired release. You can find these on our releases page. Replace vX.Y.Z with your selected release tag below.
sudo git checkout vX.Y.Z
Using this installation method enables easy upgrades in the future by simply checking out the latest release tag.
Using the above method, you can easily upgrade Netbox in the future simply by checking out the latest release tag.
Create a Netbox System User
Create a system user for Netbox:
sudo adduser --system --group netbox
sudo chown --recursive netbox /opt/netbox/netbox/media/
sudo chown --recursive netbox /opt/netbox/netbox/reports/
sudo chown --recursive netbox /opt/netbox/netbox/scripts/
Navigate to the Netbox directory and create a copy of the configuration example file:
cd /opt/netbox/netbox/netbox/
sudo cp configuration_example.py configuration.py
Configure Netbox Installation
Edit the configuration file:
sudo nano configuration.py
There are a few REQUIRED settings you'll need to change: ALLOWED_HOSTS, DATABASE, REDIS, and SECRET_KEY.
ALLOWED_HOSTS
In the ALLOWED_HOSTS section, add the IP address of your Netbox server:
ALLOWED_HOSTS = ['192.168.1.78', netbox.yourdomain.com']
DATABASE
In the DATABASE section, add the database settings you created earlier:
DATABASE = {
    'ENGINE': 'django.db.backends.postgresql',  # Database engine
    'NAME': 'netbox',               # Database name
    'USER': '<your username>',      # PostgreSQL username
    'PASSWORD': '<your password>',  # PostgreSQL password
    'HOST': '<your ip>',            # Database server
    'PORT': '5432',                 # Database port (leave blank for default)
    'CONN_MAX_AGE': 300,            # Max database connection age
}
REDIS
In the REDIS section, add the Redis settings:
No just kidding, this can stay as is. The default settings are fine.
SECRET_KEY
Generate a new secret key:
python3 ../generate_secret_key.py
Copy the secret key and paste it into the SECRET_KEY setting
Run the Installation Script
Run the script and watch the waterfall of text:
sudo /opt/netbox/upgrade.sh
Activate the virtual environment:
source /opt/netbox/venv/bin/activate
Create a superuser:
-
cd /opt/netbox/netbox -
python3 manage.py createsuperuser
Add your user info and password at the prompts.
Schedule Housekeeping Tasks
Netbox includes a management command to perform various housekeeping tasks. You can run this command manually or schedule it to run automatically. Check their docs for more info: housekeeping documentation
sudo ln -s /opt/netbox/contrib/netbox-housekeeping.sh /etc/cron.daily/netbox-housekeeping
Run the Development Server
Ensure your virtual environment is activated and then run:
python3 manage.py runserver 0.0.0.0:8000 --insecure
You should see an indication that the server is running and accessible on port 8000 at your IP address.
If you are running the service in a remote VM as shown in the above steps, you may see the IP listed as http://0.0.0.0:8000. This is fine. You can access the service by navigating to http://<your VM ip>:8000 in your browser.
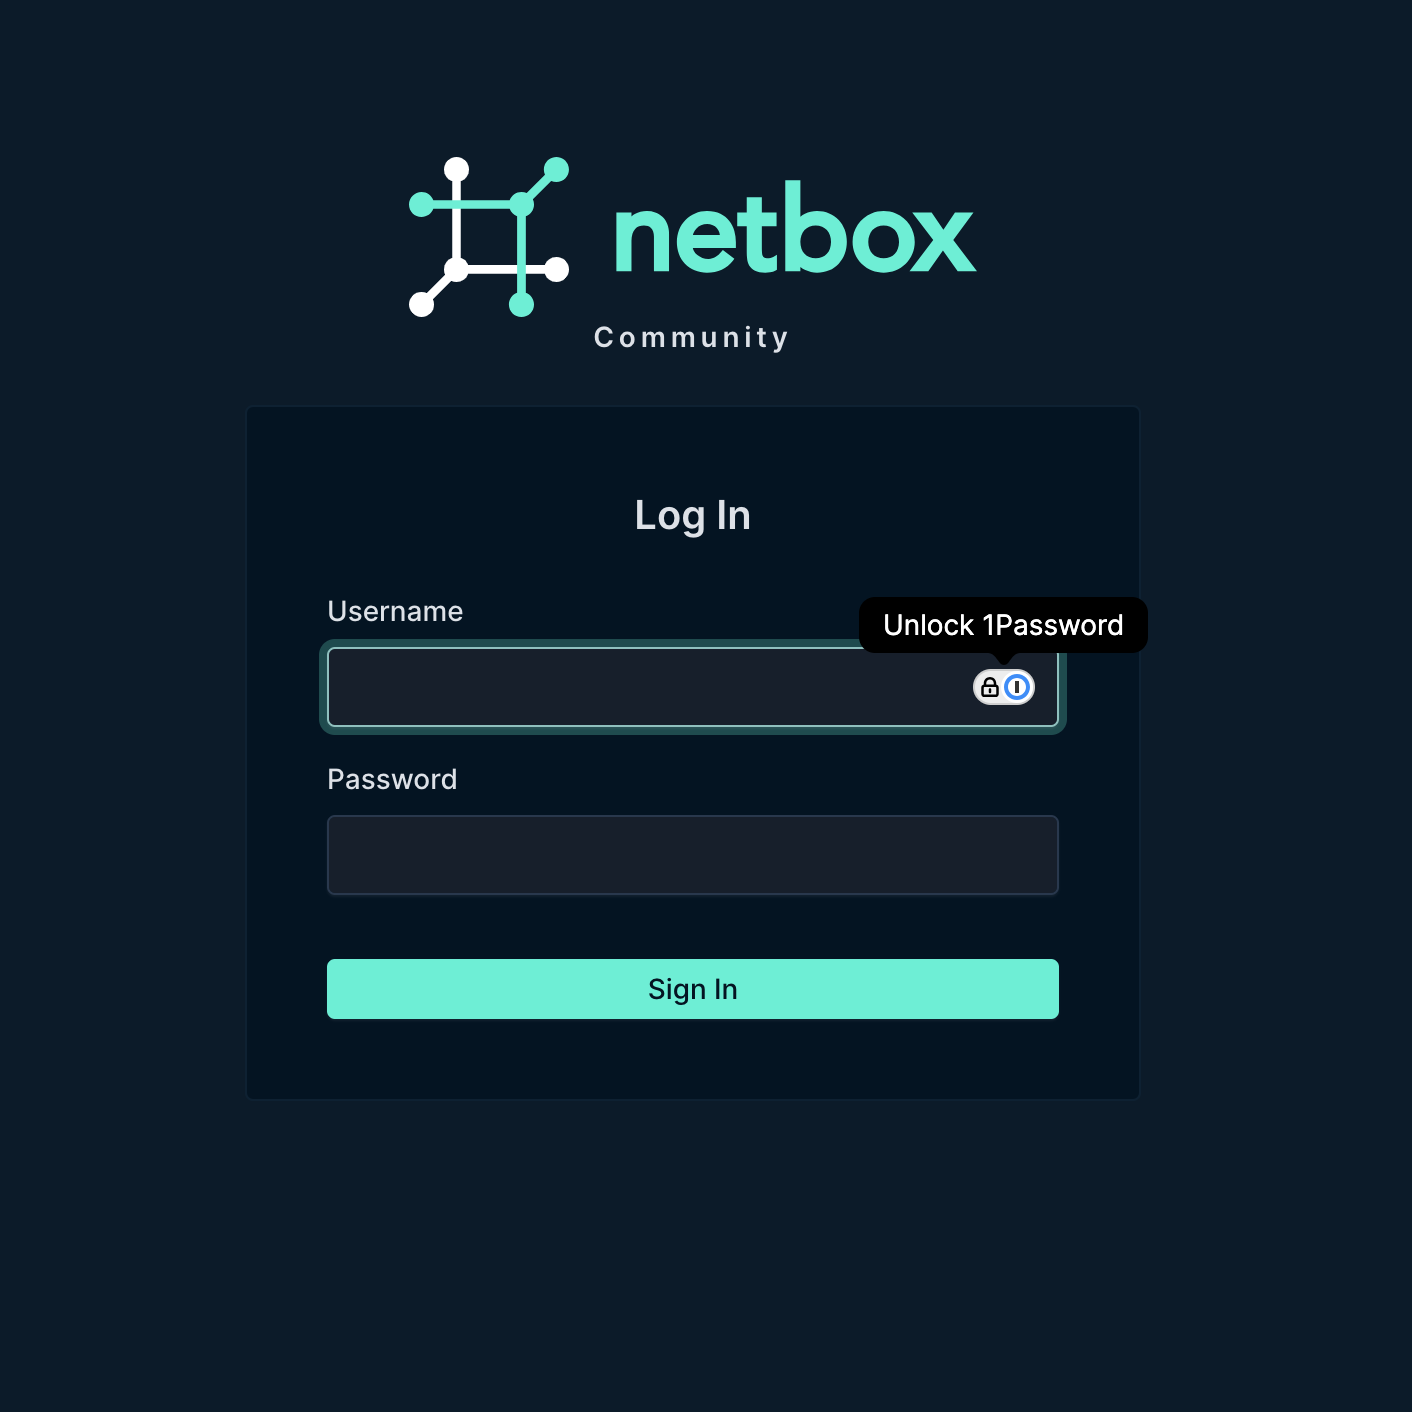
You should now be able to access Netbox by navigating to http://<your ip>:8000 in your browser.
Conclusion
We aren't quite done. We have a develpment server running, and this could work just fine for a Homelab environment. In the next guide, we are going full monty and setting up Netbox with Gunicorn and Nginx. Why? Well, practice + stability, of course.